- Published on
VMware ESXi 7 安裝 CentOS 8 MariaDB 紀錄
- Authors

- Name
- Rick Jiang
Table of Contents
最近協助同事在 VMware ESXi 上設定一台新的 DB 主機,很久沒有架新主機了,過程有點生疏,這邊紀錄一下過程
1. Setting Virtual Machine
首先進到 VMware ESXi 中的 Storage 中將 CentOS 的 ISO 檔上傳,待會要掛載到 VM 上進行安裝 
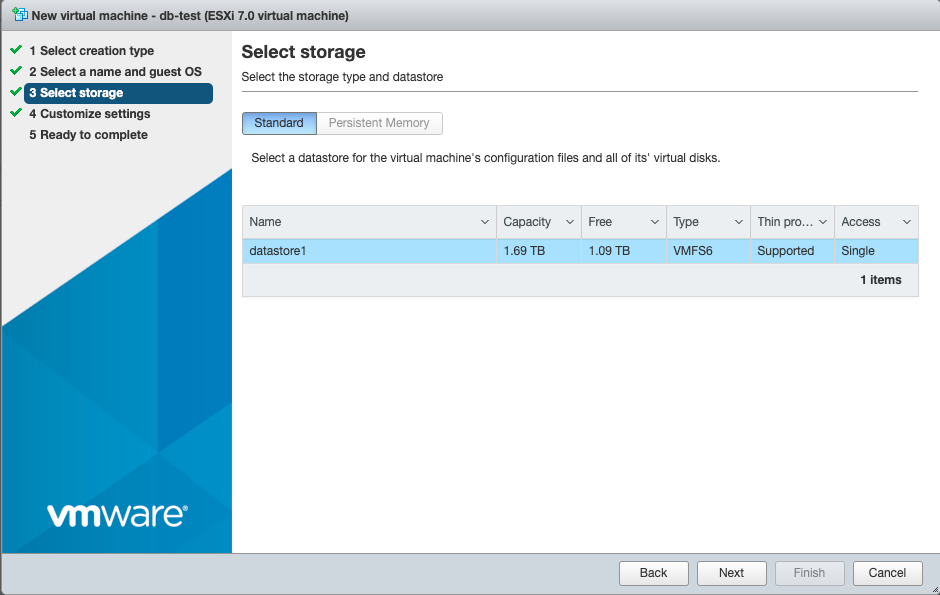
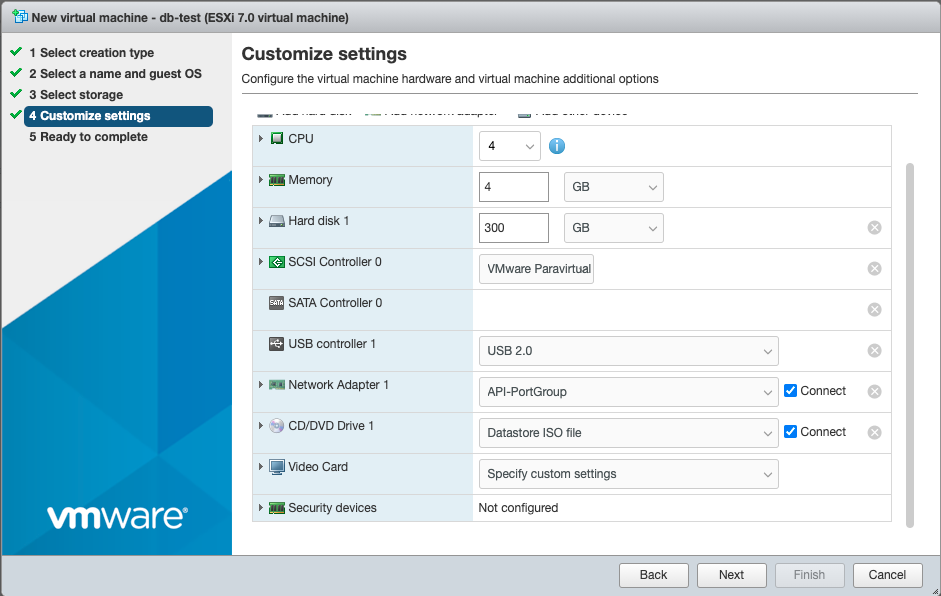
接著進到 Virtual Machines 點 Create / Register VM 後選擇 Create a new virtual machine 下一步設定 VM Name 及系統類型跟選擇 Storage,接著在 Customize settings 的 CD/DVD Drive 1 中選擇 Datastore ISO file 選擇剛剛放在 Storage 的 ISO 檔下一步就可以把 VM 主機建立完成,安裝的過程就不多詳述 
2. Centos configuration
以下是我習慣在系統安裝完後的基礎設定,僅供參考
# Update
yum check-update
yum update
yum install epel-release
yum update
reboot


# Change Host Name
hostnamectl set-hostname dbmaster-localdomain


# Timezone & Sync
timedatectl set-timezone Asia/Taipei
dnf install chrony
systemctl enable chronyd
vi /etc/chrony.conf
    # NTP Server
    Server time.stdtime.gov.tw
systemctl restart chronyd
chronyc sources


# Setting NetWork
cd /etc/sysconfig/network-scripts/
ls
vi ifcfg-ens192
	BOOTPROTO=static
	IPADDR=192.168.1.168
	NETMASK=255.255.255.0
	GATEWAY=192.168.1.254
	DNS1=8.8.8.8
	ONBOOT=yes
ifup ens192

# Disable Network Interface IPv6
vi /etc/sysctl.conf
  net.ipv6.conf.all.disable_ipv6 = 1
  net.ipv6.conf.default.disable_ipv6 = 1


# Disable SSH IPv6
vi /etc/ssh/sshd_config
  # inet is ipv4 only, inet6 is ipv6 only
  AddressFamily inet
3. Install MariaDB
sudo dnf install mariadb-server
sudo systemctl start mariadb
sudo systemctl status mariadb
sudo systemctl enable mariadb
4. Setting MariaDB (Allow root Remote access)
基本上是不建議開放 root 可以遠端登入,應該新增專屬的 User 帳號對應相應的資料庫,僅供參考
sudo mysql_secure_installation
  Remove anonymous users? [Y/n]: Y
  Disallow root login remotely? [Y/n]: N
  Remove test database and access to it? [Y/n]: Y
  Reload privilege tables now? [Y/n]: Y
mysql -u root -p
	GRANT ALL PRIVILEGES  ON *.* to ‘root’@‘192.168.1.%’ IDENTIFIED BY 'password' WITH GRANT OPTION;
	FLUSH PRIVILEGES;
vi /etc/my.cnf.d/mariadb-server.cnf
	bind-address = 0.0.0.0
systemctl restart mariadb
5. Setting FireWall
sudo firewall-cmd --permanent --add-port=3306/tcp
sudo firewall-cmd --reload
6. Add root disk space
將 /home 的容量減少到 20GB 並將剩餘的容量擴充到 /root 中
umount /home
lvreduce -L 20G /dev/mapper/cs-home
lvextend -l +100%FREE /dev/mapper/cs-root
xfs_growfs /dev/mapper/cs-root
mount /dev/mapper/cs-home /home/
mkfs.xfs -f /dev/mapper/cs-home
mount /dev/mapper/cs-home /home/
df -h
reboot