- Published on
將 .NET Core 程式容器化並佈署至 Heroku
- Authors

- Name
- Rick Jiang
Heroku 雖然支援的語言中沒有 C#,但是支援容器化佈署,所以我們可以將 .NET Core 的程式打包成容器進行佈署就可以了,剛好最近手上有個小專案有這個需求,所以記錄一下佈署過程
1. 建立 Dockerfile
在專案根目錄中建立 Dockerfile 檔案以便打包成容器,以下為範例內容,如果要使用的話,請將 game-backend 改為自己的專案名稱
# https://hub.docker.com/_/microsoft-dotnet
FROM mcr.microsoft.com/dotnet/sdk:5.0 AS build
WORKDIR /app
# copy csproj and restore as distinct layers
COPY game-backend.csproj ./
RUN dotnet restore
# copy everything else and build app
COPY . .
# Publish
RUN dotnet publish -c release -o out
# final stage/image
FROM mcr.microsoft.com/dotnet/aspnet:5.0
WORKDIR /app
COPY /app/out ./
CMD ASPNETCORE_URLS=http://*:$PORT dotnet game-backend.dll
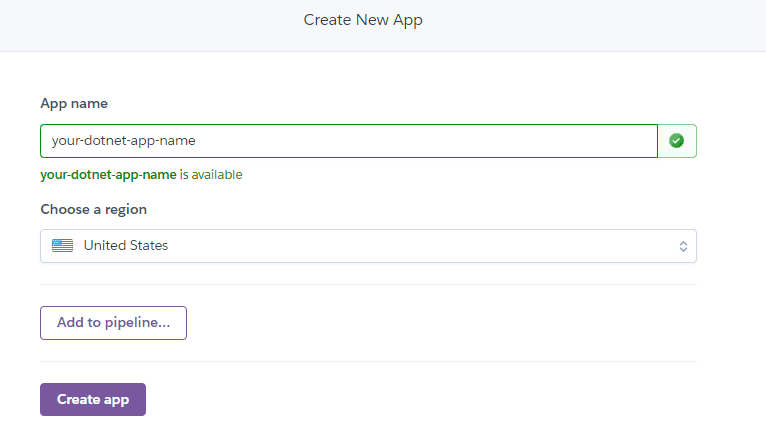
2. 建立 Heroku App
首先先到 Heroku 上建立你的 App 專案,並把專案名稱記下來,待會佈署容器時會使用到
3. 安裝 Heroku CLI
沒有安裝的話可以到 https://devcenter.heroku.com/articles/heroku-cli#download-and-install 下載安裝,但是你也像我習慣使用套件管理的話,可以採用以下方式安裝
# Windows Chocolatey
choco install heroku-cli

# macOS Homebrew
brew tap heroku/brew && brew install heroku
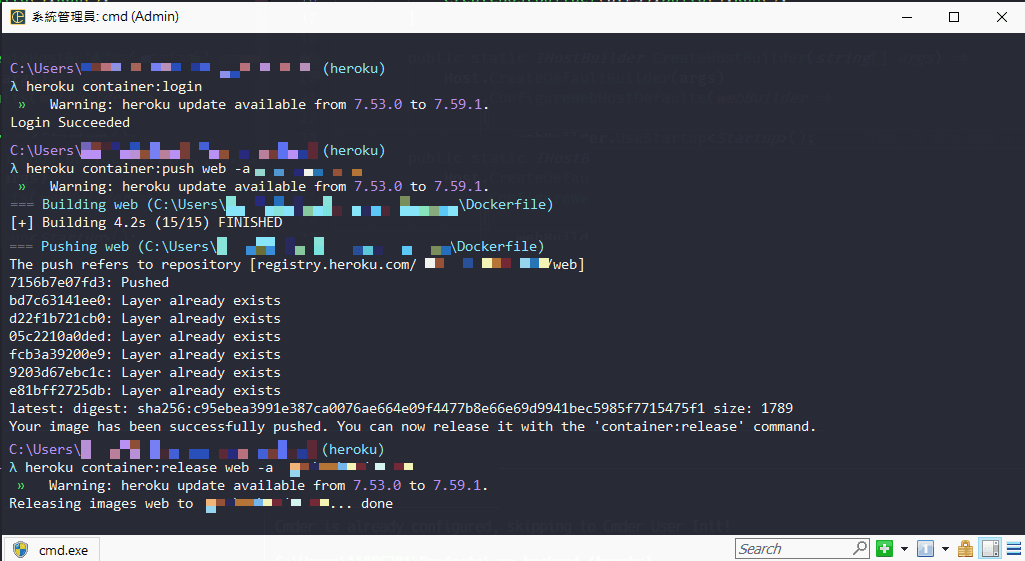
4. 佈署至 Heroku
以上步驟完成的話,就可以打開你的 Terminal 並 CD 到專案根目錄依序執行以下指令就可以完成佈署囉
# Login to Heroku
heroku login

# Login to Heroku Container Registry
heroku container:login

# Build the image and push to Container Registry
heroku container:push web -a <your-heroku-app-name>

# Release the image to your app
heroku container:release web -a <your-heroku-app-name>

# Check the logs
heroku logs --tail -a <your-heroku-app-name>
如果有容器更新的需求,只要再次執行 heroku container:push 跟 heroku container:release 就可以完成更新了,結論 Heroku 有支援容器服務真的是很方便,佈署不僅限於 .NET Core 的容器,其它的語言應用程式只要打包成容器也可以使用同樣的方式進行佈署,打完收工 🖖